Mt. Rainier is the reason I left San Francisco. In 2021, I moved to Redmond, on Seattle’s Eastside, so the mountain could be part of my life instead of a picture on a screen.
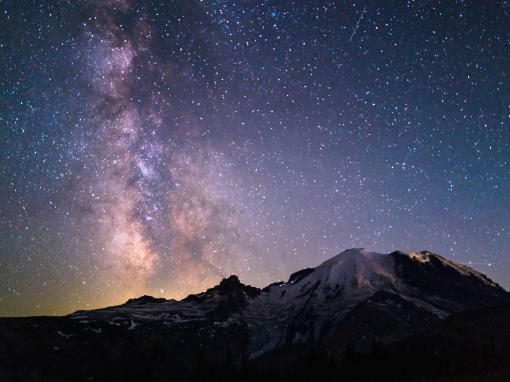
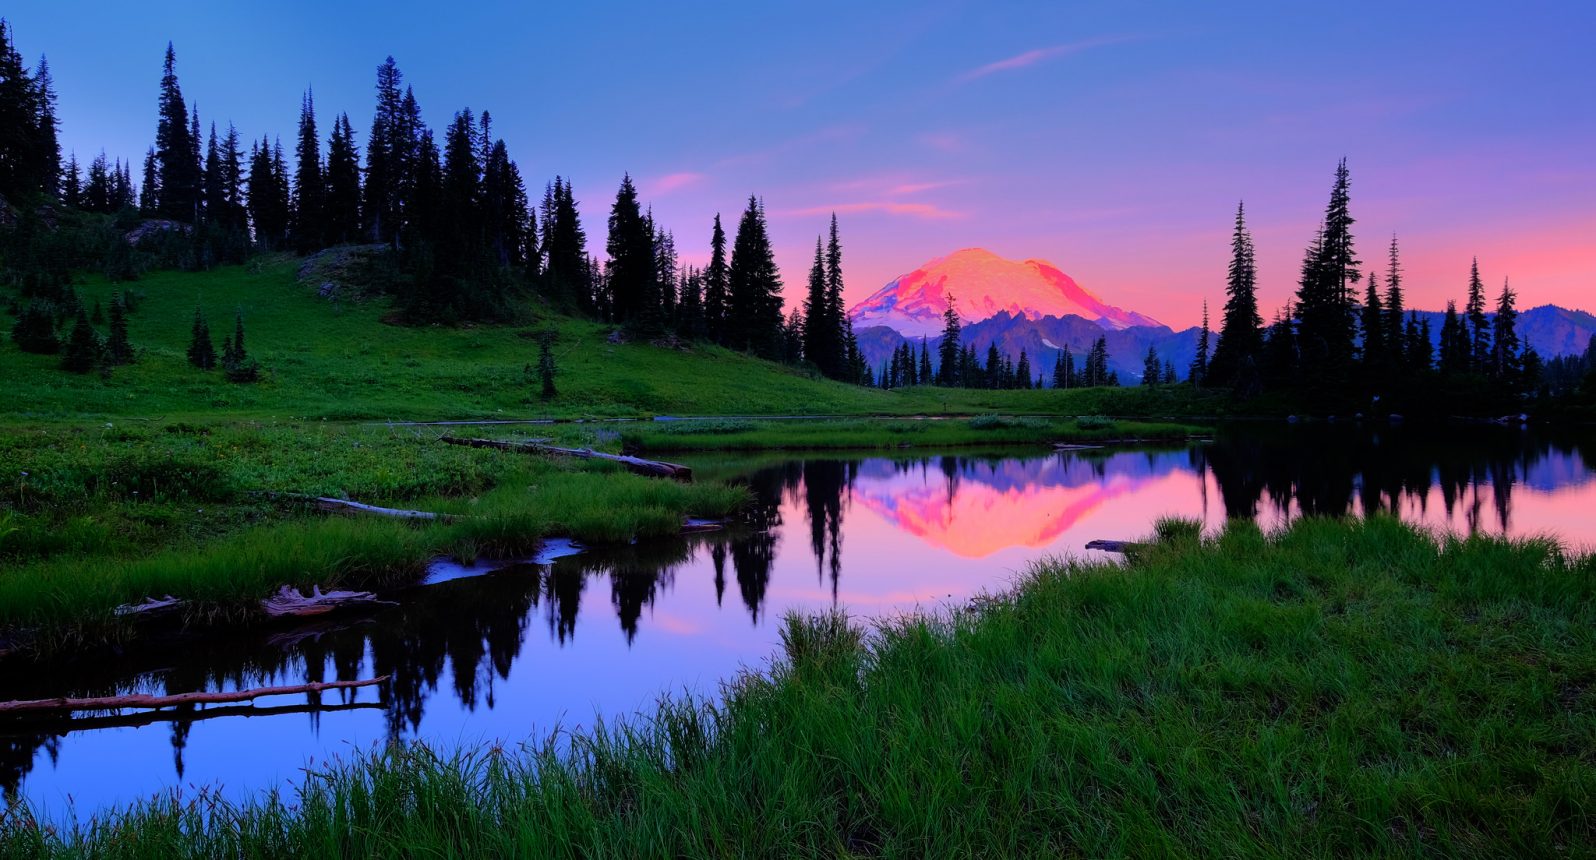
For years I had admired incredible images taken here: wildflower meadows glowing at sunset, the glacier-covered peak under a sky full of stars. Mt. Rainier is a photographer’s dream. As I was planning my first photo trip to the mountain, I came across a photography workshop led by StarvingPhotographer, and I signed up right away.
It was a small group: three students and one teacher. We met around 6 pm in the parking lot of the Paradise Inn, with our cameras, tripods and no idea how long the night ahead would be.
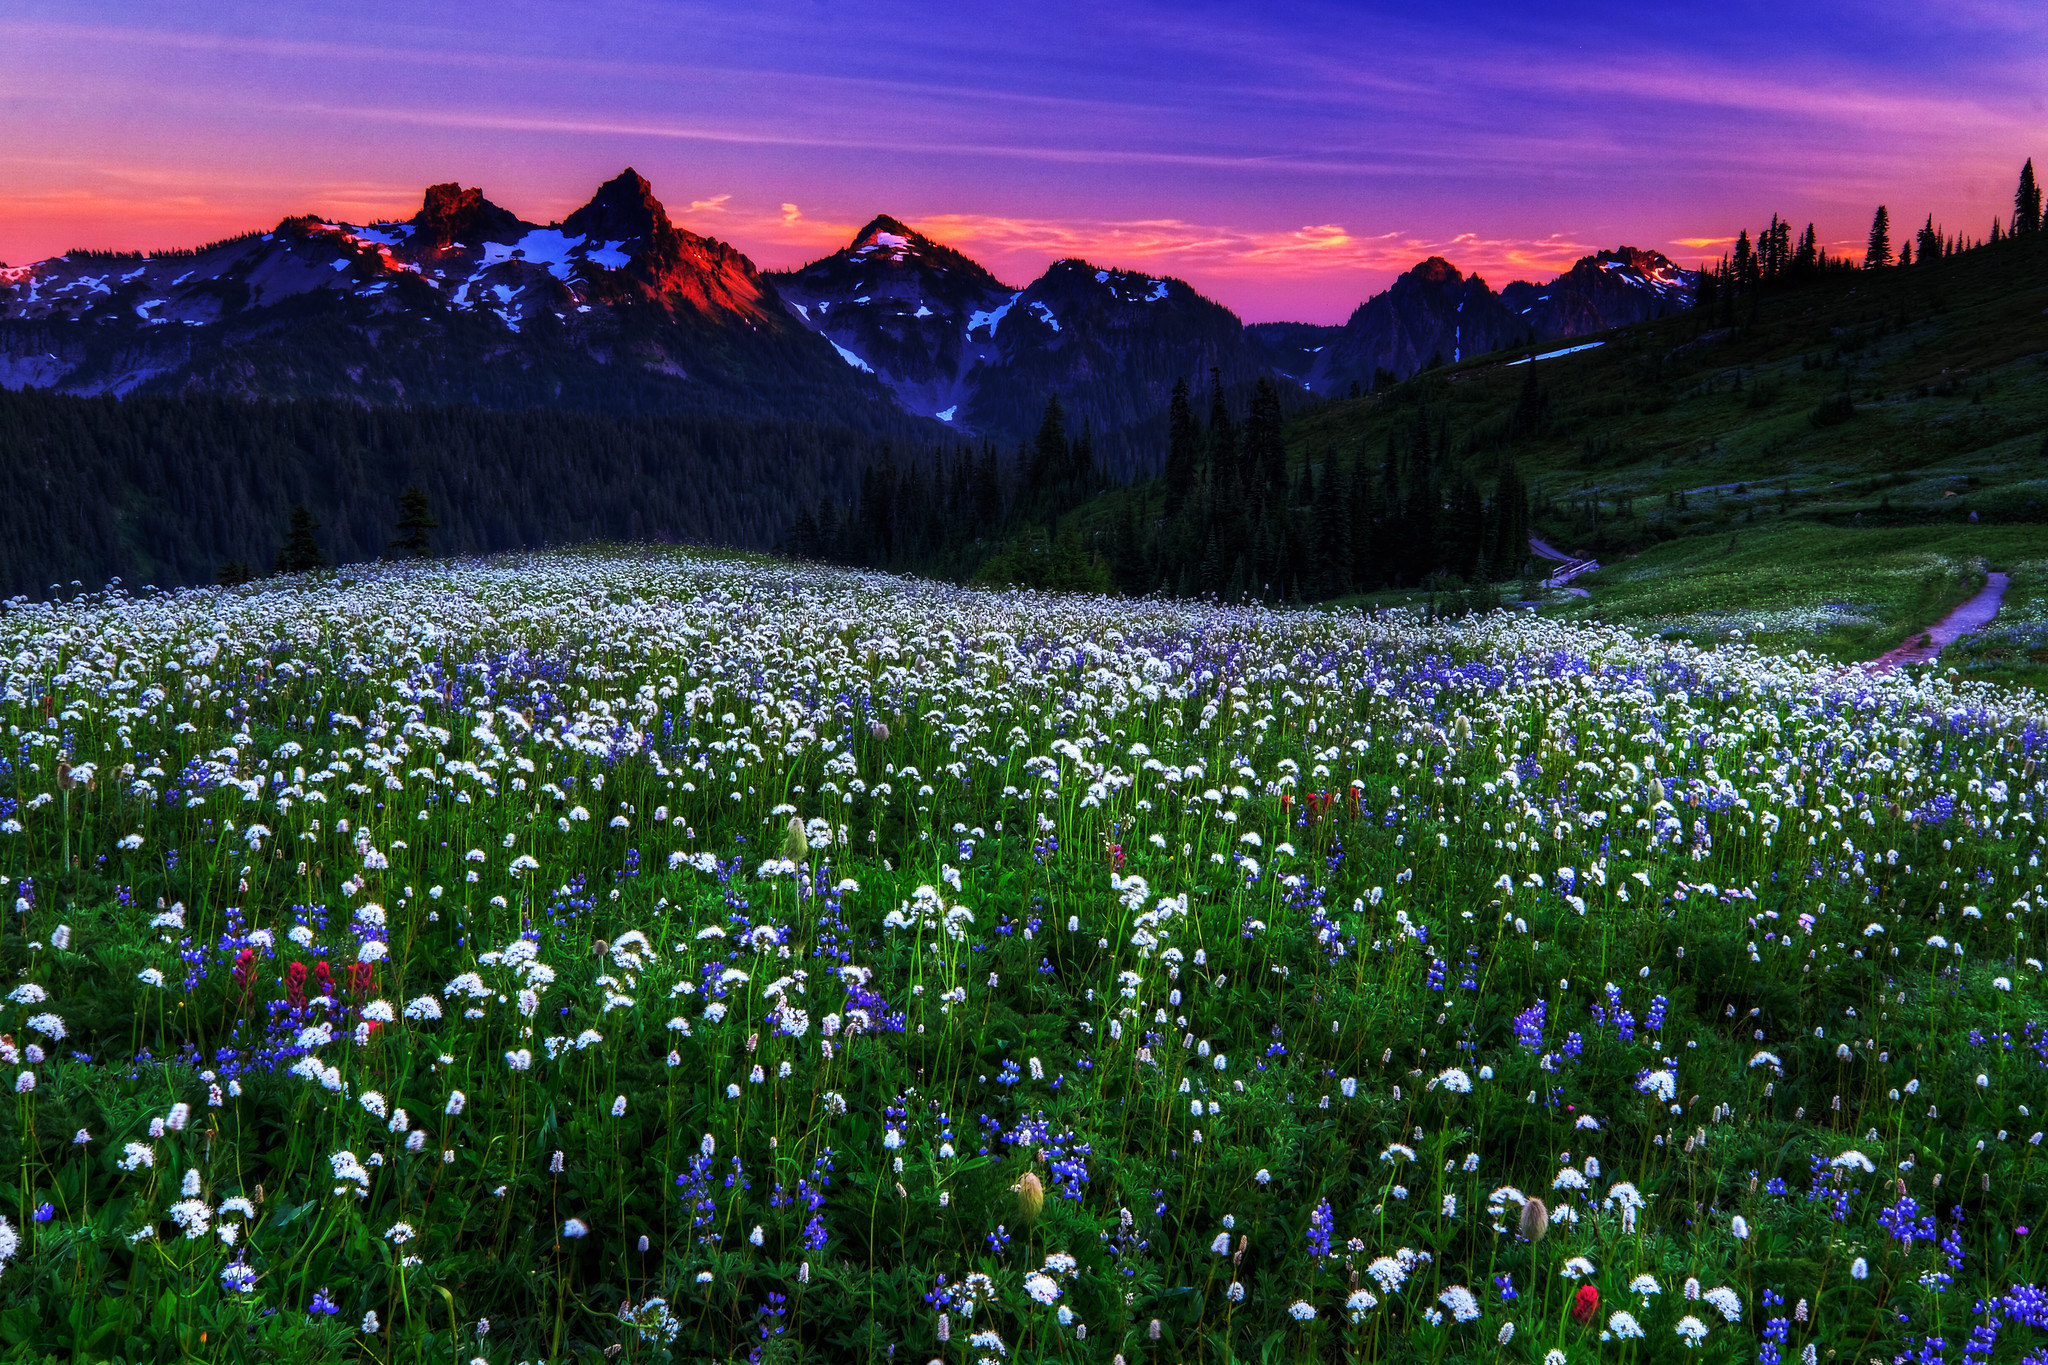
Wildflowers in the Wind
From Paradise, we headed into the meadows to photograph wildflowers until sunset. Then something unexpected happened: my tripod broke. For a moment I thought my evening was over. Instead, I improvised, propped and steadied what was left of it, and still came away with many shots I’m proud of.
The real challenge was the wind. The flowers never stopped swaying, and catching them in a still moment took patience. It came down to a balancing act between shutter speed and aperture. The shutter had to be fast enough to freeze the movement and avoid blur, while the aperture had to be small enough to keep the flowers and the mountain behind them sharp. Getting both at once meant constantly adjusting, waiting for a lull in the breeze, and trying again.
A Turning Point
I have loved photography since 2001, the year I finished graduate school. For years I supported and maintained a large online photography forum with nearly 20,000 members. I lived and breathed photography, or so I thought.
That night on Mt. Rainier, I realized how much I still had to learn. After all those years, I hadn’t truly understood photography. The workshop was humbling and enlightening at the same time, and it became a turning point in how I see and shoot.
From Sunset to Sunrise
We shot from 7 pm until 8 am the next morning, stealing only a couple of hours of sleep, for about 11 hours of photography in total. In one night we covered macro, wildflowers, sunset, star trails and sunrise. By morning I was exhausted, cold and happier than I had been in a long time.
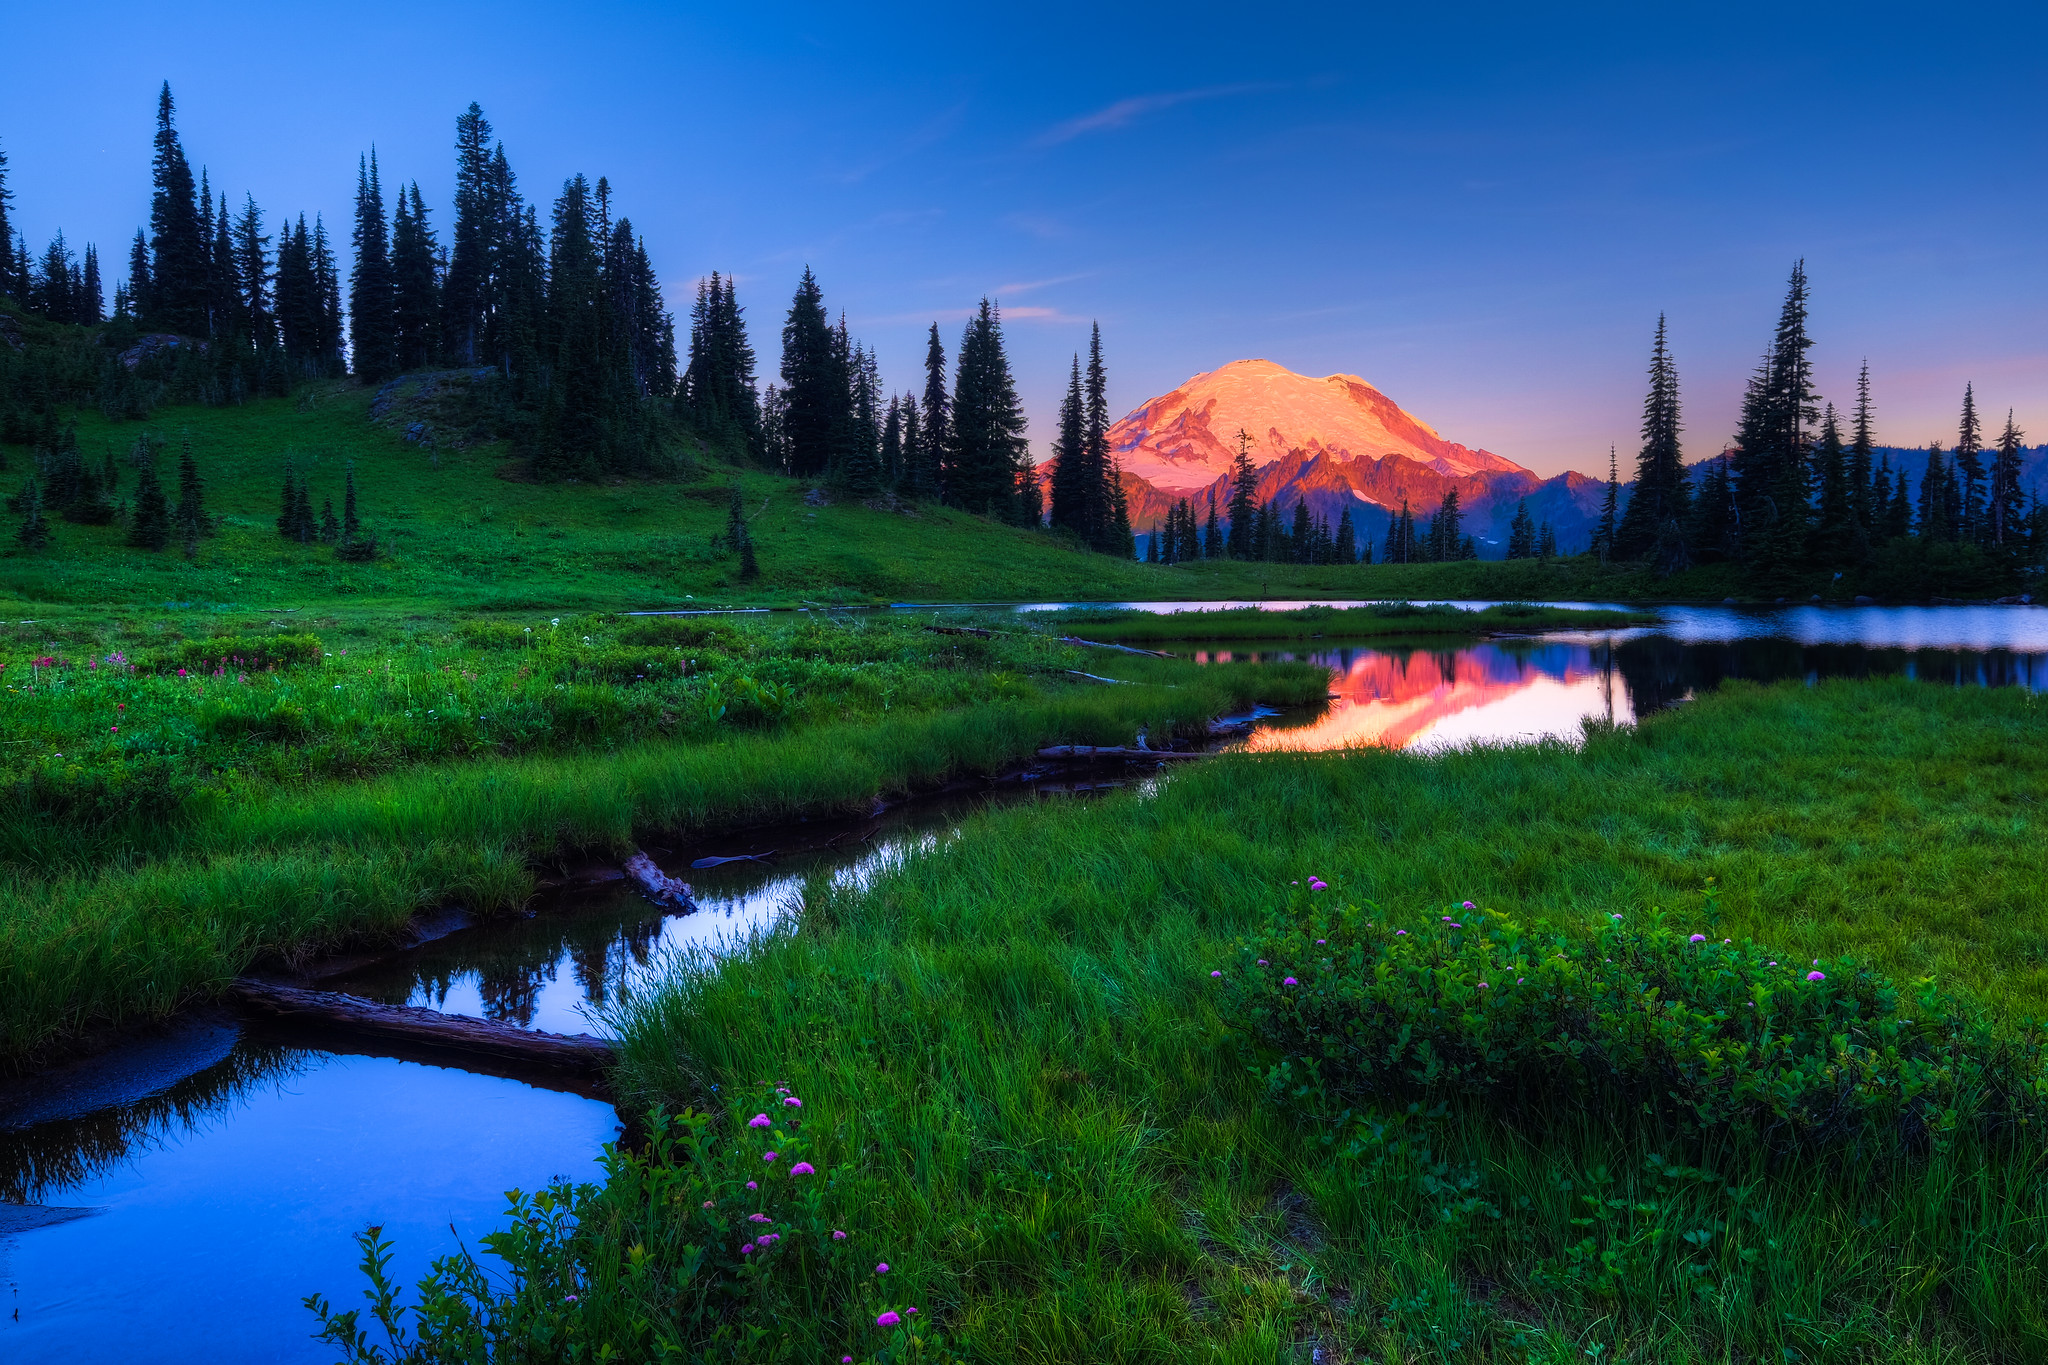
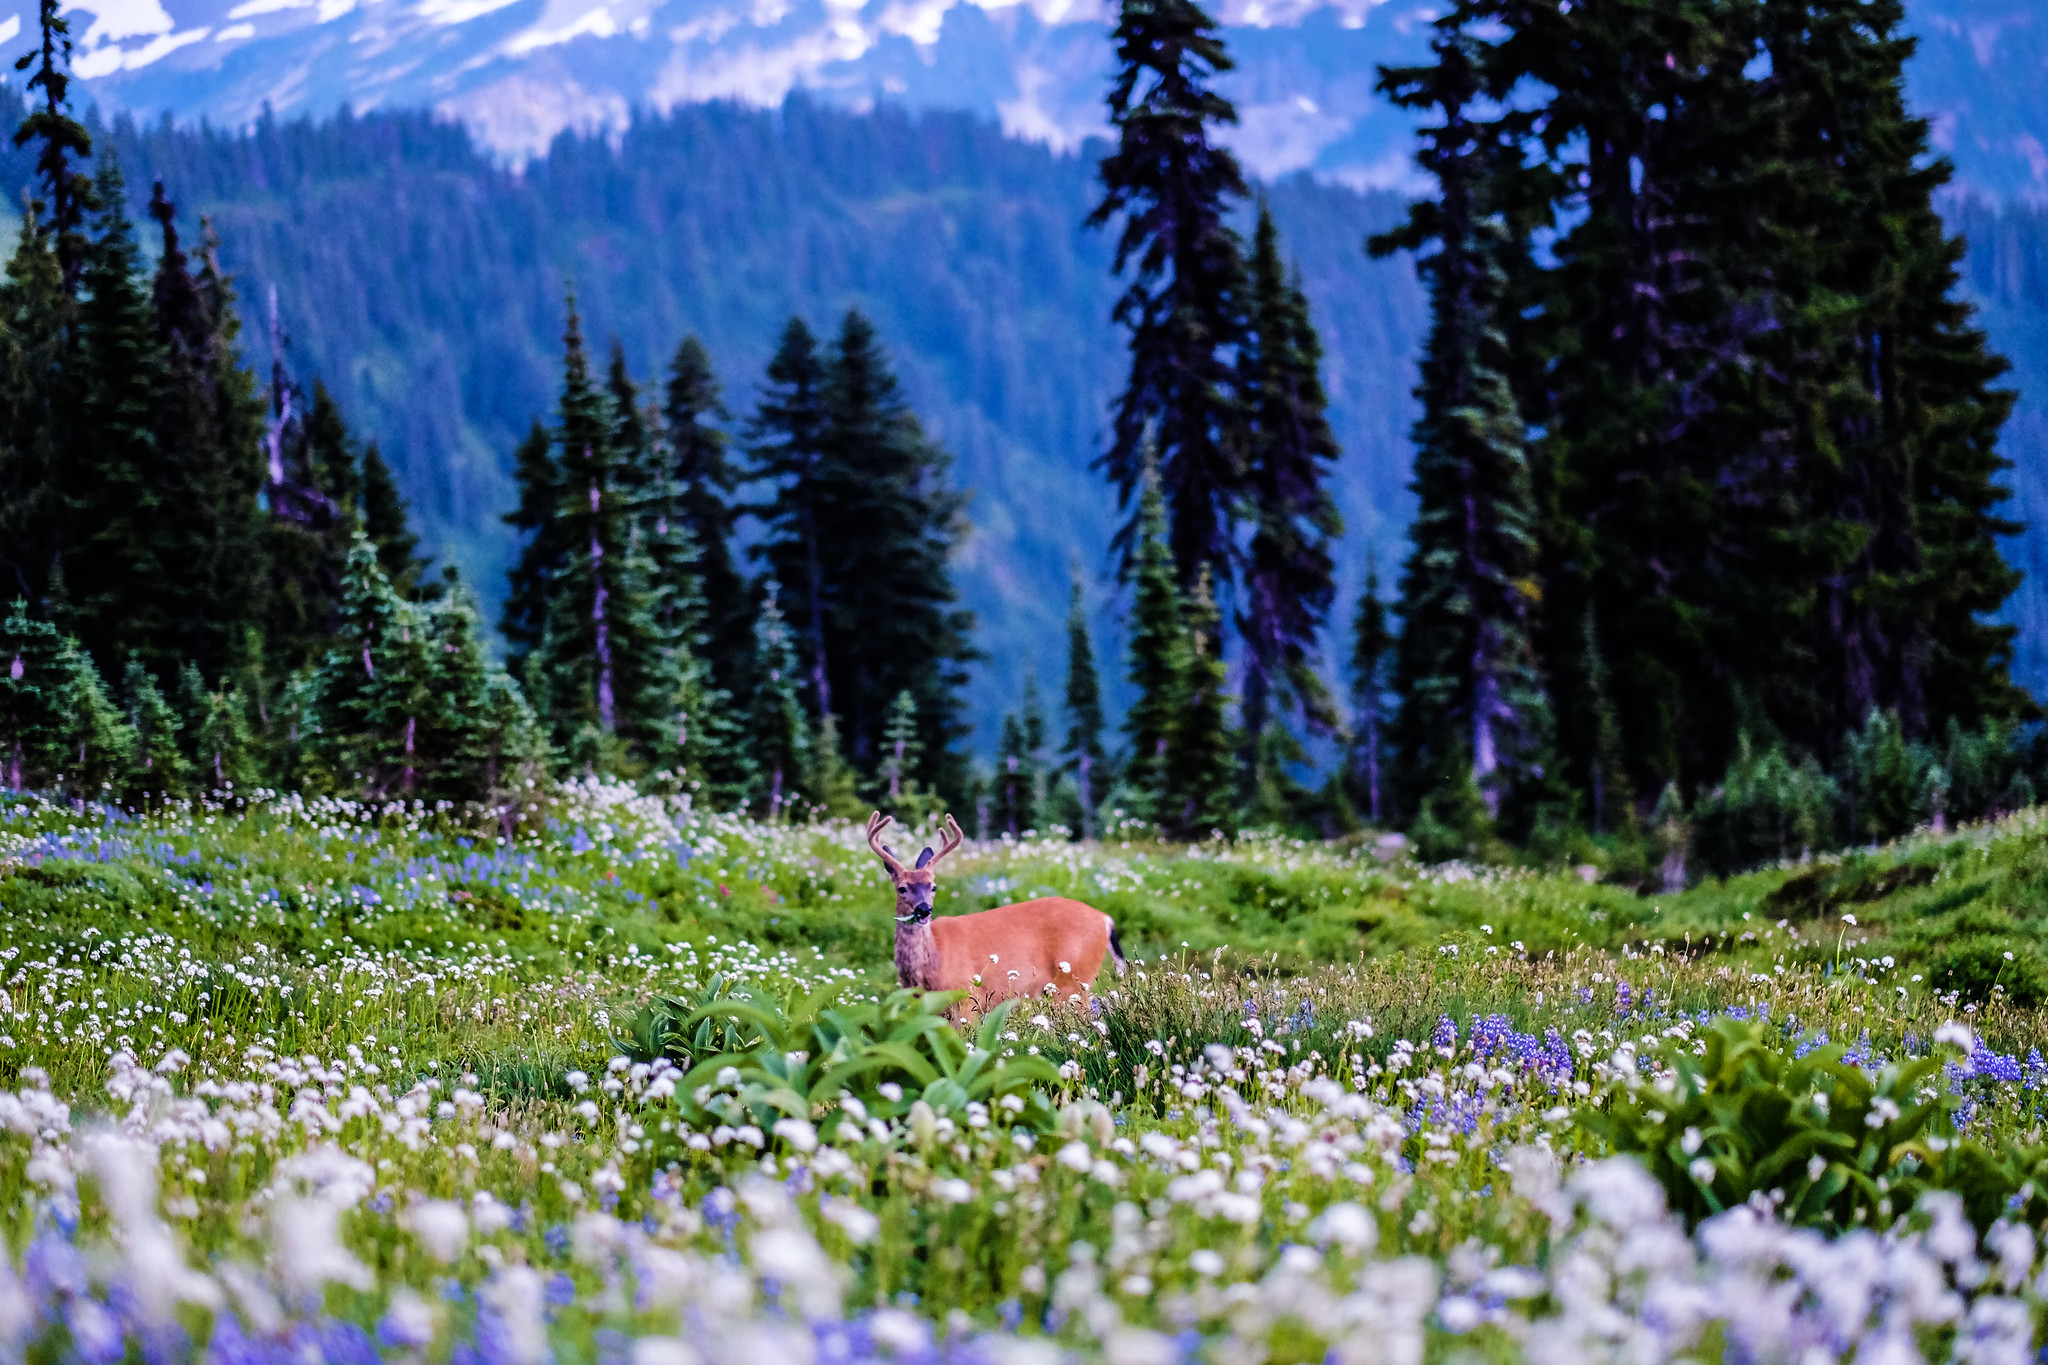
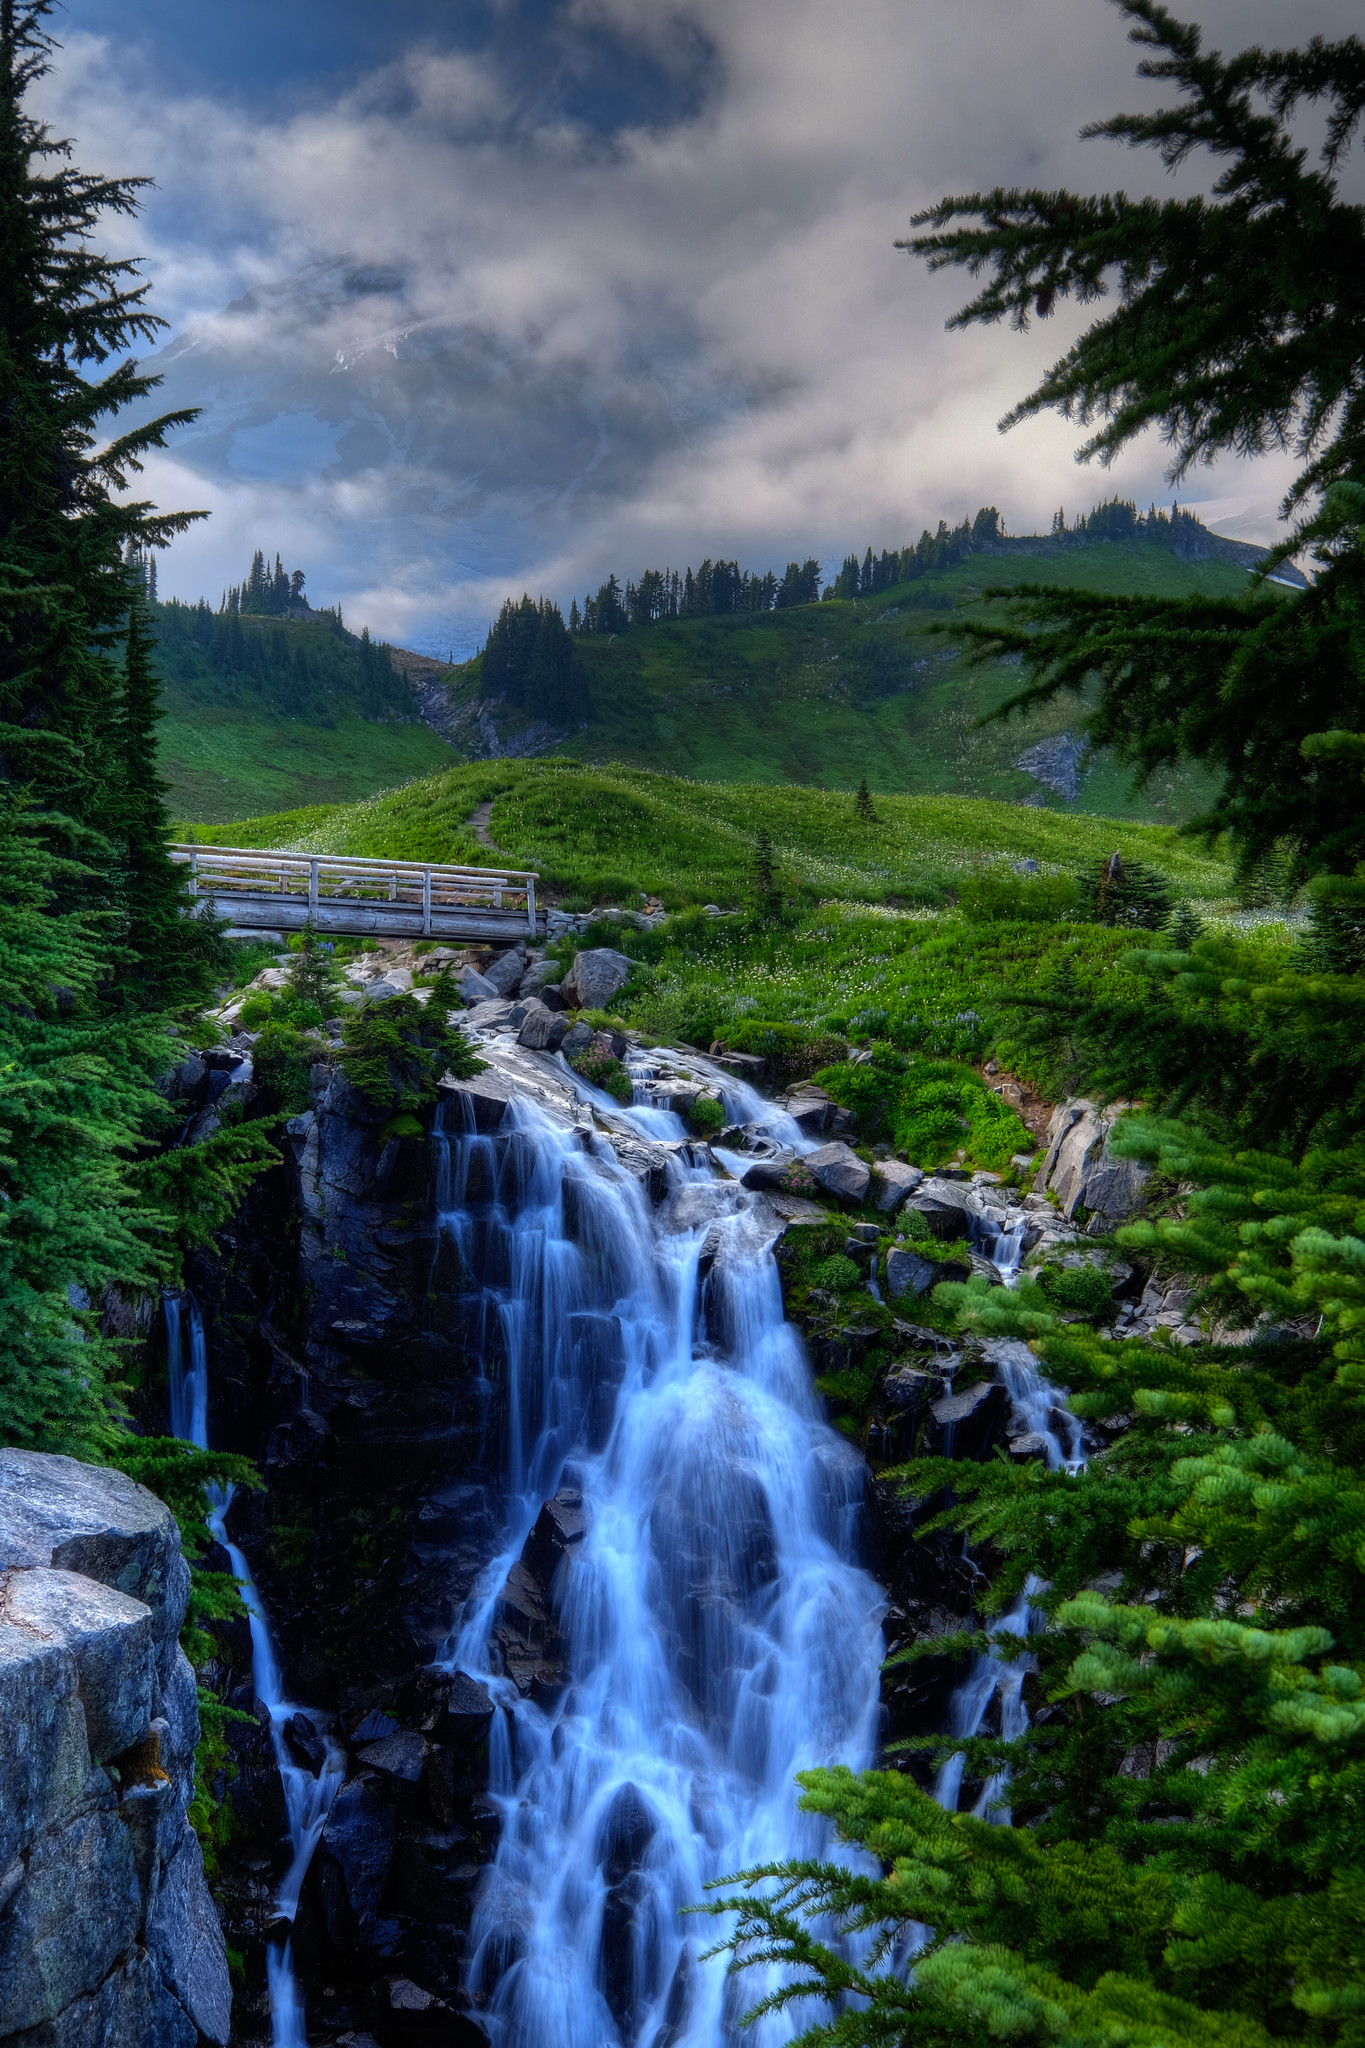
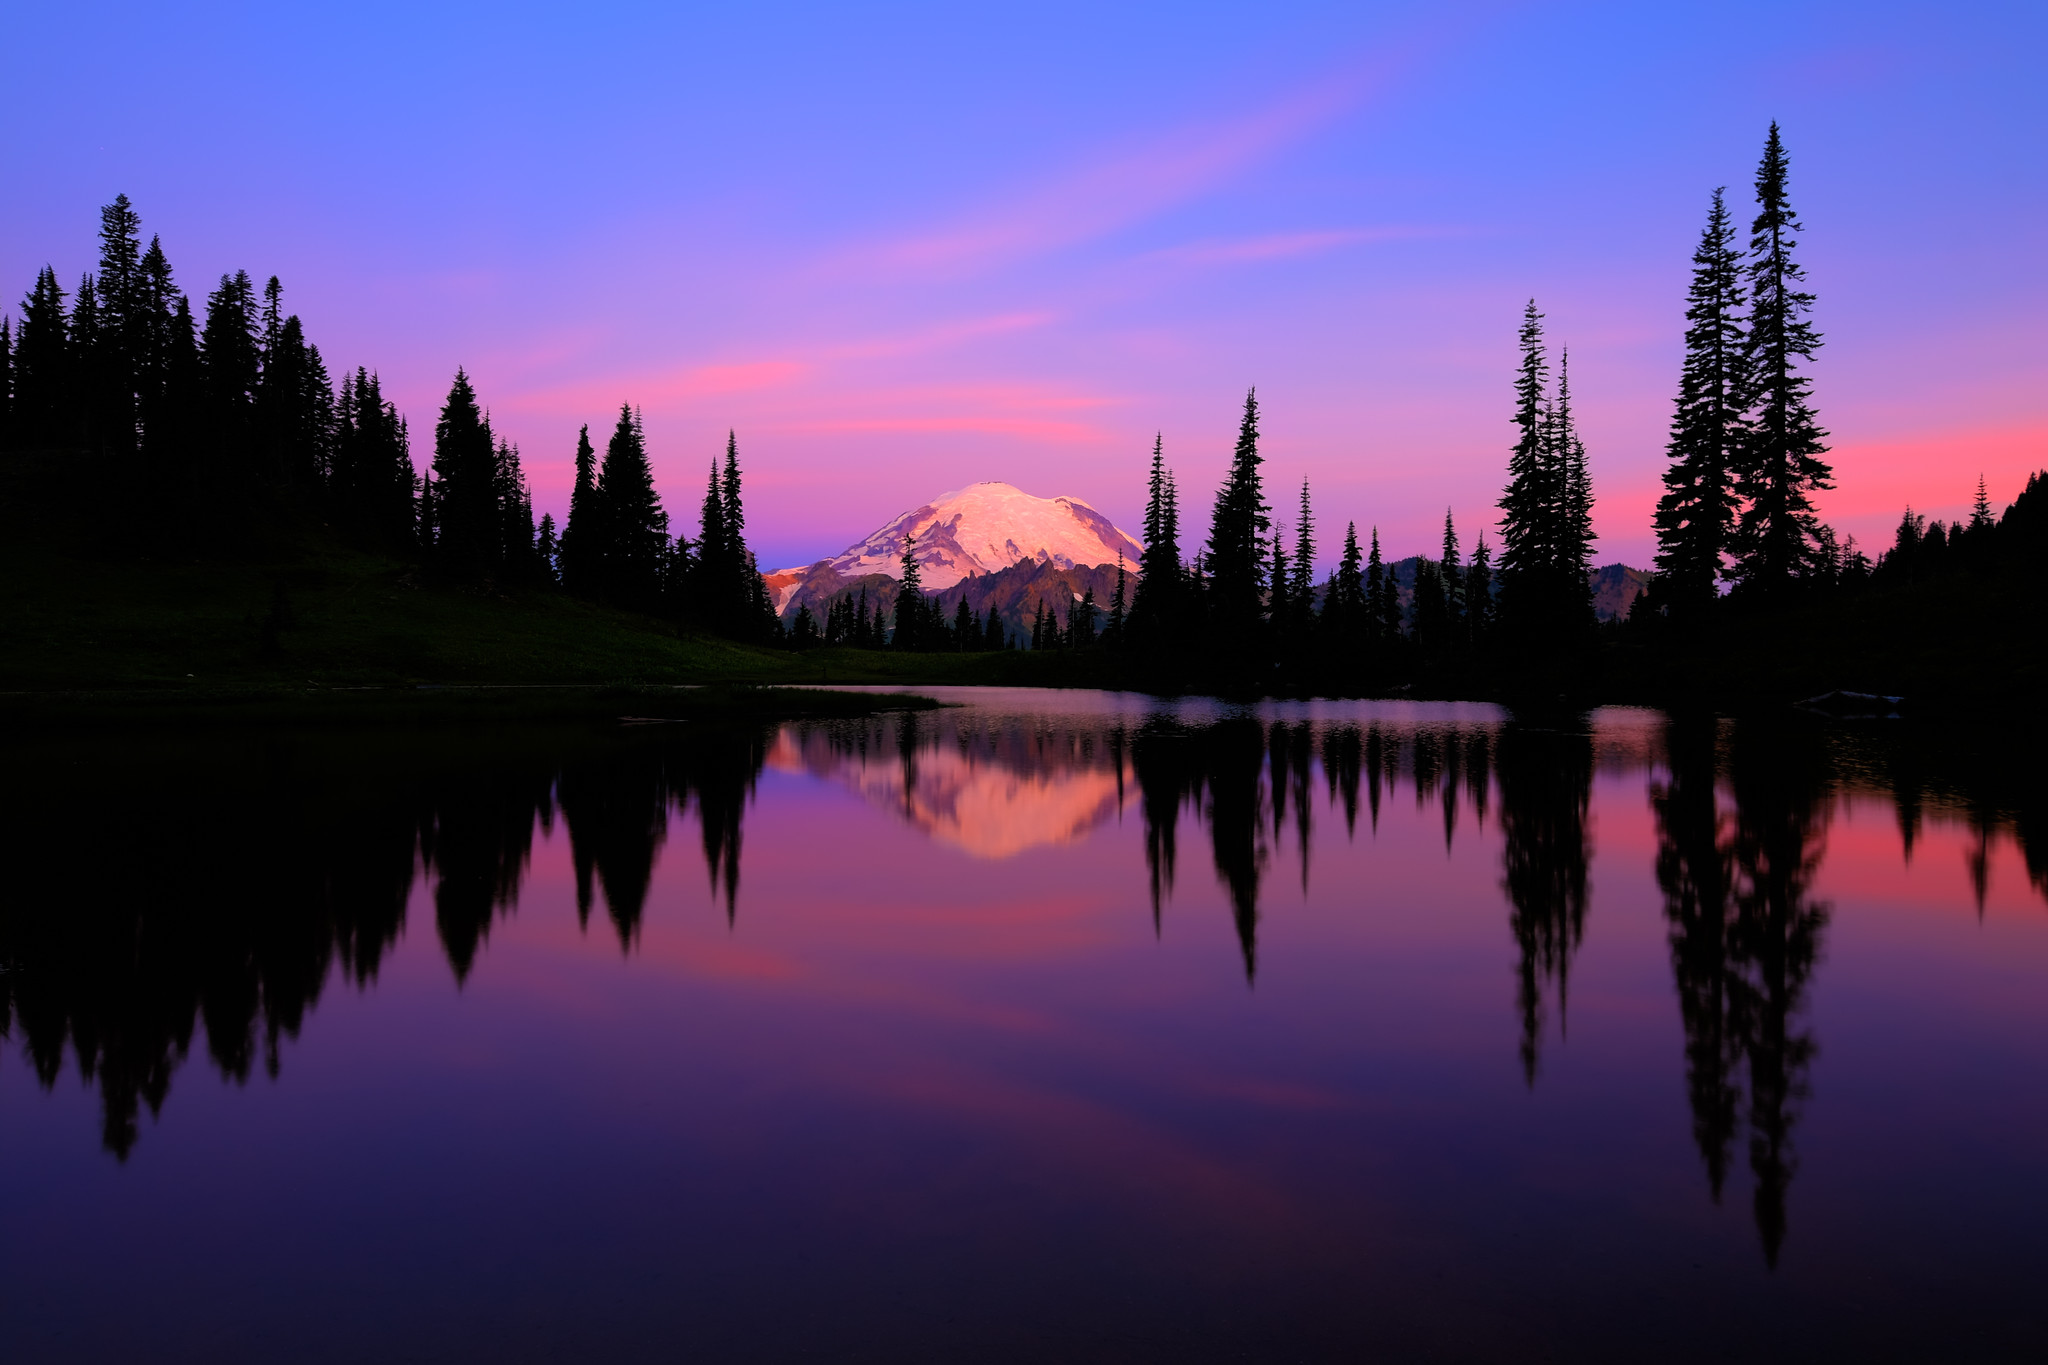
Here are some of my favorite images from that night:
What I Learned
The single most important piece of advice I received that night was simple:
Always shoot in RAW for landscape photography.
That lesson, together with one other, changed how I shoot:
- Always shoot in RAW. This matters most at sunset, sunrise and night, when light is extreme and changes fast. A RAW file gives you far more room than a JPEG to recover highlights, lift shadows and adjust white balance later.
- Wait for the best light. The hours around sunset and sunrise transform a landscape. The same scene that looks flat at midday can become magical in golden hour or blue hour.
How to Shoot Star Trails
A fair warning before you start: star trail photography is addictive, and it is much more fun with a group. Here are the rough steps I learned that night.
In the field
- Take one test shot first to check your exposure and composition.
- Plan for 10 shots, each about 3 minutes long, at f/4 and ISO 200.
- Set your intervalometer to take the 10 exposures of 3 minutes each, with a 1-second interval between shots. Anything longer than 1 second will leave visible gaps in the trails.
In Lightroom and Photoshop
- In Lightroom, select all 10 photos and choose Photo → Edit In → Open as Layers in Photoshop.
- In Photoshop, select all the layers and set the blending mode to Lighten. The stars from every frame combine into continuous trails.
- To refine the sky, use the Gradient tool with the Foreground to Transparent preset (the second option), then use Edit → Fade Gradient to adjust its strength.
- To remove unwanted details from individual layers (a passing car’s headlights, an airplane), select that layer, press B for the Brush tool, set the mode to Clear, and paint over what you don’t want.